macOS & Python Development
PLEASE DO NOT SAFE ANYTHING TO YOUR iCLOUD FOLDER
Setting up Python for macOS
Install Python 3.11 or later from the Python Organization's website (Link)
You can install either the Gzipped source or XZ compressed file
Install Visual Studio Code from their website.
Run Visual Studio Code for initial setup
You do not need to download any extensions, and you are more than welcome to ignore such pop-ups
Set up Homebrew
Homebrew is a free, open-source package manager for macOS and Linux. It simplifies the process of installing, managing, and updating software on your system. Instead of manually downloading and configuring various tools and libraries, Homebrew allows you to install them with a single command.
Homebrew works by downloading the source code of the requested software, compiling it (if necessary), and installing it in a designated location. It also manages dependencies, ensuring that all required libraries are installed automatically.
To use Homebrew, you typically run commands like:
brew install <package>– to install a package.brew update– to update Homebrew itself.brew upgrade– to upgrade installed packages.
It's widely used by developers to install programming languages, tools, and libraries efficiently.
Make sure that during installation of Homebrew, you are getting XCode Command Line Tools
A message will pop up on your terminal during the installation of homebrew
Homebrew Installation Guide
Search for
terminalon spotlight (The magnification icon on the top right of all macs)Insert the following code on terminal:
Let the Installation complete, then close and quit your terminal.
MAKE SURE TO RUN THE COMMANDS IT TELLS YOU TO AFTER A SUCCESSFUL INSTALLATION
Git
Git is a distributed version control system that tracks changes to files and coordinates work among multiple people on a project. It allows developers to manage different versions of their code, collaborate efficiently, and revert to previous versions if needed.
Git Installation Guide
Search for
terminalon spotlight (The maginifcation icon on the top right of all macs)Insert the following code on terminal:
This will install
gitusinghomebrewwhich installed in the prior section
Add $HOME to your sidebar in Finder
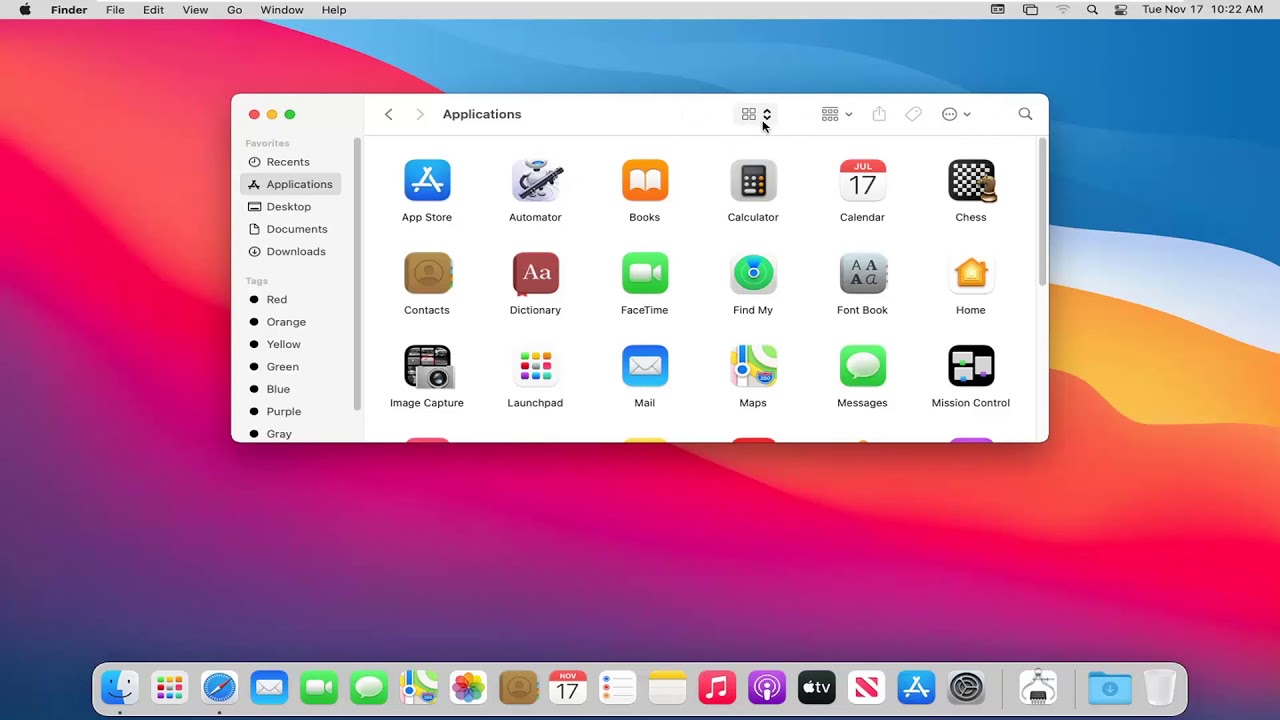
Finder is the file manager for macOS.
Our final step to setup our coding environment on a macOS is to make a shortcut to your home folder.
On the top bar of your mac when you have
finderopen, is to go tosettingsClick the Sidebar tab, then select the boxes for the folders you want visible in the Sidebar, which can include Home — it can named like your user account or Home.

This will place important directories that we need for coding on the sidebar!
Last updated